This is part 1 of 4 in a series about some recent performance tuning I completed on Elevation TD.
Background
Elevation TD is a tower defense game in which everything in a level is instantiated dynamically – the landscape is built tile-by-tile, each one nudged around with materials applied at runtime to create a unique look each time you play – enemies are constructed at runtime from a library of “bodies” and “legs” to create visual diversity – same with towers and the objects thrown around like “shots” and even the small decorative plants and rocks. Each time you visit a level, it follows a general template to position things, but it never looks the exact same twice.
The drawback for all of this on-the-fly construction is performance. Once you add up all the individual objects, you have thousands of Node3D’s wrapping around thousands of meshes and the default workflow in Godot of “put a GLB in a Node3D and tweak its positioning and other characteristics” start to not scale. This is where RenderingServer comes in.
Heads Up
If you are not comfortable coding, stop here. This isn’t an easy haul, but it can give you some solid performance boosts – in my case it was fairly significant, but not everyone has a game with thousands of distinct objects. If you don’t have a lot of distinct visual objects, this path might not be worth it.
When you have a Node3D that you drop in a scene, you can really spend a lot of time adjusting its look and feel, nesting all kinds of stuff inside it, and it all comes along for one happy ride. When you use the RenderingServer, you are basically writing a distinct mesh and only the mesh to the RenderingServer – you lose anything nested under it, you lose its scale, rotation, position – you will need to reapply all those aspects of it in code and you basically lose almost all ability to manage something in the Godot editor – that’s the bad news – the good news is that you’ll be writing that mesh and all its display instructions directly to Godot’s rendering server so its much faster and lighter weight.
The Basics
Godot provides a good discussion around RenderingServer along with a sample implementation here:
https://docs.godotengine.org/en/stable/tutorials/performance/using_servers.html
This YouTube video is also a good walkthrough of the basics:
You should familiarize yourself with the RenderingServer API doc at Godot – you’ll need it to do much more than the basics:
https://docs.godotengine.org/en/stable/classes/class_renderingserver.html
A Simpler Example
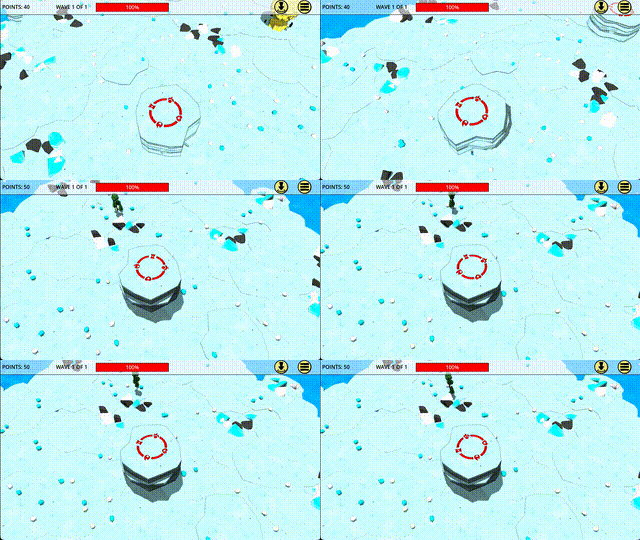
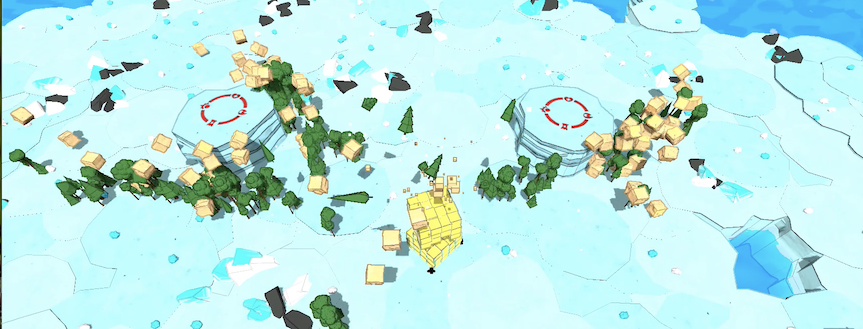
Lets start with the simple version where you instantiate a mesh in a position and you never touch it again, like the landscape and the small rocks and chunks of ice in the below:

At the class level:

var yourMesh

func _ready:

yourMesh = <wherever you get your meshes from>

#
# Mesh Renderer Instance for ground decoration
# We'll call the instance "tmpDecoInstance"
# You should have a mesh stored in the variable
# yourMesh at the class level
#

# first get your instance ID and scenario
var tmpDecoInstance = RenderingServer.instance_create()
var tmpScenario = get_world_3d().scenario

# then set your scenario and base
RenderingServer.instance_set_scenario(tmpDecoInstance, scenario)
RenderingServer.instance_set_base(tmpDecoInstance, yourMesh)

# create your transform3d and set its origin up front
var tmpxform = Transform3D(Basis())
tmpxform.origin = decoPos

# apply rotations as needed (in this case, randomized)
# 90 degrees in radians = 1.5708 / 360 degress = 6.28319
tmpxform = tmpxform.rotated_local(Vector3.UP, rng.randf_range(0,6.2))

# set scale
var tmpScale = Vector3(1,1,1) # or whatever scale you need
tmpxform = tmpxform.scaled_local(tmpScale)

# set the instance to position at the transform
RenderingServer.instance_set_transform(tmpDecoInstance, tmpxform)
This is basically the same example as is in the Godot docs except that I’m setting rotation, origin, and scale – why? When you load meshes via the Rendering Server, you will quickly discover what their actual scale and alignment are and it might not be what you think it is, especially if you didn’t create it yourself. This was a rude awakening for me as I had meshes from a variety of different sources – so a small flower was suddenly huge and sideways and a giant boulder was suddenly tiny. You either need to set the scale/rotation or resize/reorient them in Blender.
Once you’ve pulled the mesh out of whatever it was in, you might realize that you need to set its material:
RenderingServer.instance_geometry_set_material_override(tmpDecoInstance, yourMaterial.get_rid())In case its not already clear, you’ll need to do this once per mesh you want to display – so if you have a character or structure that you “kit-bashed” together from multiple GLB’s, you will need to either combine all those meshes into one mesh or iterate over the above chunk of code once per mesh.
Moving Things Around
You may have noticed that no where in the simple example did I add_child() anything – you can’t with Rendering Server – the mesh does not exist as a Node that you can add to anything. This should inspire you to ask how you manage it – move it around, make it rotate, etc… That’s done via the instance RID that you get from RenderingServer.instance_create().
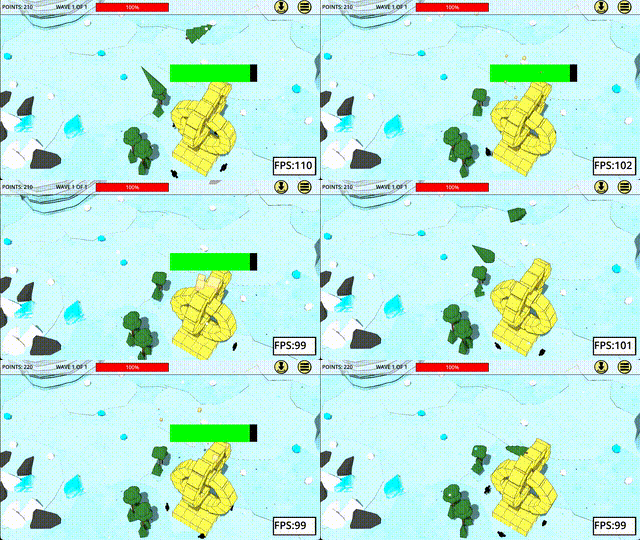
To make it easier to move instances around, lets separate the creation of the instance from the manipulation of the instance – you create the instance in your _ready and then you manipulate it via a func. In the below example, we’re representing a “shot” that is “fired” from an enemy to its target – for example, these trees throwing trees:

So first we create the instance in _ready, but we save the instance and the mesh at the class level:
var shotMesh
var shotInstance
var shotRotation
var shotScale = Vector3.ONE
var shotRotDirection = Vector3.LEFT

func _ready():
  shotInstance = RenderingServer.instance_create()
  var scenario = get_world_3d().scenario
  RenderingServer.instance_set_scenario(shotInstance, scenario)
  shotMesh = <where ever you get your mesh from>
  RenderingServer.instance_set_base(shotInstance, shotMesh)
  placeShot(Vector3(10000,-10000,10000))
You’ll notice that looks very similar to the simple example, but stops halfway through and calls that “placeShot” function – placeShot, as the name suggests, places the shot where you want it to be along with handling rotation, scale, etc…:
func placeShot(position):
  # 90 degrees in radians = 1.5708 / 360 degress = 6.28319
  shotRotation += shotRotSpeed
  if shotRotation > 6.28319: shotRotation = 0
  # create transform
  var xform = Transform3D(Basis())
  # set global position
  xform.origin = position
  # rotate as needed
  xform = xform.rotated_local(shotRotDirection, shotRotation)
  # set scale
  xform = xform.scaled_local(shotScale)	  RenderingServer.instance_set_transform(shotInstance, xform)
You’ll notice that “shotInstance” is leveraged as a pointer to the mesh that was instanced in the Rendering Server. To move the shot around, create a Transform3D representing its new position and orientation and then instance_set_transform the shotInstance to that Transform3D. Putting that all into a general function means you can just call the _placeShot() function to position the visual wherever you need it, whenever you need it (i.e. from inside _process() more than likely).
A few things I will point out here:
- https://docs.godotengine.org/en/stable/classes/class_transform3d.html – the Transform3D class is your friend – use it.
- Note that each time placeShot is called you are basically building the Transform3D from scratch – every time I tried to manage the Transform or Basis persistently, I got erratic behavior from the RenderingServer. Once I made peace with re-establishing all positionality factors each time on a new temporary Transform3D, things worked a lot more consistently.
- Because I’m not persistently managing the transform, I needed to keep track of how rotated the object needed to be to create a smooth rotation. Each time you create a new transform, the rotation is reset, so you need to be prepared to tell it how rotated you want it and its scale each call (thusly, managing the shotRotation variable at the class level).
- You’ll notice the first thing I set on the Transform is its origin (i.e. the coordinates you want it to appear at) – do this first. If you attempt to perform operations like Transform3D.looking_at() and then set the origin, it does not work correctly. Origin first, everything else second works the most consistently.
- You’ll notice I’m using scaled_local and rotated_local – again, this produces the most consistent result over a large series of updates.
I use the word “consistently” several times in those bullet points. Perhaps the most annoying thing about working with the Rendering Server is that when it doesn’t like what you are doing, objects tend to just disappear. I iterated many times over changes that should have either worked fine or made a very small difference to the visual display only to have the mesh completely disappear with no errors in the error console. Remember, when you use Rendering Server, you are working outside the node tree, so you can’t even look at Remote and see what’s going on – you basically have nothing to fall back on except debug in your code. Once I got the above “recipe” in place, things worked pretty consistently.
What’s Your Mesh?
Its worth taking a moment to remember that a GLB isn’t a “mesh”, its a collection of things, one of which is a mesh. If you instantiate a GLB, grab the first child and then you can get the mesh. There’s a lot of examples out there (including Godot’s tutorial) where they just load(Path-to-Mesh) into a variable, but that’s if you actually just have a literal Mesh – if you do that with a GLB or FBX, it won’t work right – seems like you need to instantiate it:
var selectedMesh = arrayOfGLBS.pick_random().instantiate()
var yourMesh = selectedMesh.get_child(0).mesh
Cleaning up After Yourself
Remember that when you place objects in the RenderingServer, they can exist *persistently across scene destruction*. If you find, for example, that going back into a scene still has objects being displayed that are left over from the last time you showed the scene, that means you are not destroying your instance’s RID appropriately.
When using the RenderingServer, you take a more active role in managing and destroying its RID (reference ID’s) which means either:
- Keep track of RID’s and free_rid them when you are done
or - Start listening to notifications in Godot to kill them before Godot destroys the object that holds the RID
Either one might be simpler depending on how you code is structured in your app – but if you are used to “just instantiating things” and not keeping tight track of them (not judging – I do it too), then you. might want to use Option 2.
In option 2, you listen for Godot to broadcast the notification that your object is about to be destroyed and you use that moment of opportunity to call RenderingServer.free_rid() to get rid of the RID before you loose the reference to it. This can be helpful in cases where there are multiple triggers to destroy an object (for example, an “enemy” might be destroyed when it gets killed, but also if a player selects “Pause > Back to Main Menu” triggering scene closure). You need to track all those triggers or make the object clean up after itself.
Godot Notifications:
https://docs.godotengine.org/en/4.3/tutorials/best_practices/godot_notifications.html
func _notification(what: int):
  # what equaling 1 means godot it about to destroy
  # the parent node
  if what == 1:
    RenderingServer.free_rid(your_instance_name)
Summary
In my case, with dozens of concurrent shots, hundreds of enemies, and many hundreds of distinct landscaping elements, using the RenderingServer like above resulted in a significant improvement of FPS (something in the range of 20-40 FPS recovered). In the next post, we’ll explore optimizing Godot’s Nav Agent…
See the other parts of this series:
